저번 글에서는 controller 에 대해서 간단하게 알아봤었다. 저번 글에서 다루지 않은 query string 과 body data 는 어떻게 받는지 간단하게 살펴보자.
// users.controller.ts
import {
Body,
Controller,
Delete,
Get,
Param,
Post,
Query,
} from '@nestjs/common';
import { UsersService } from './users.service';
@Controller('users')
export class UsersController {
constructor(private readonly usersService: UsersService) {}
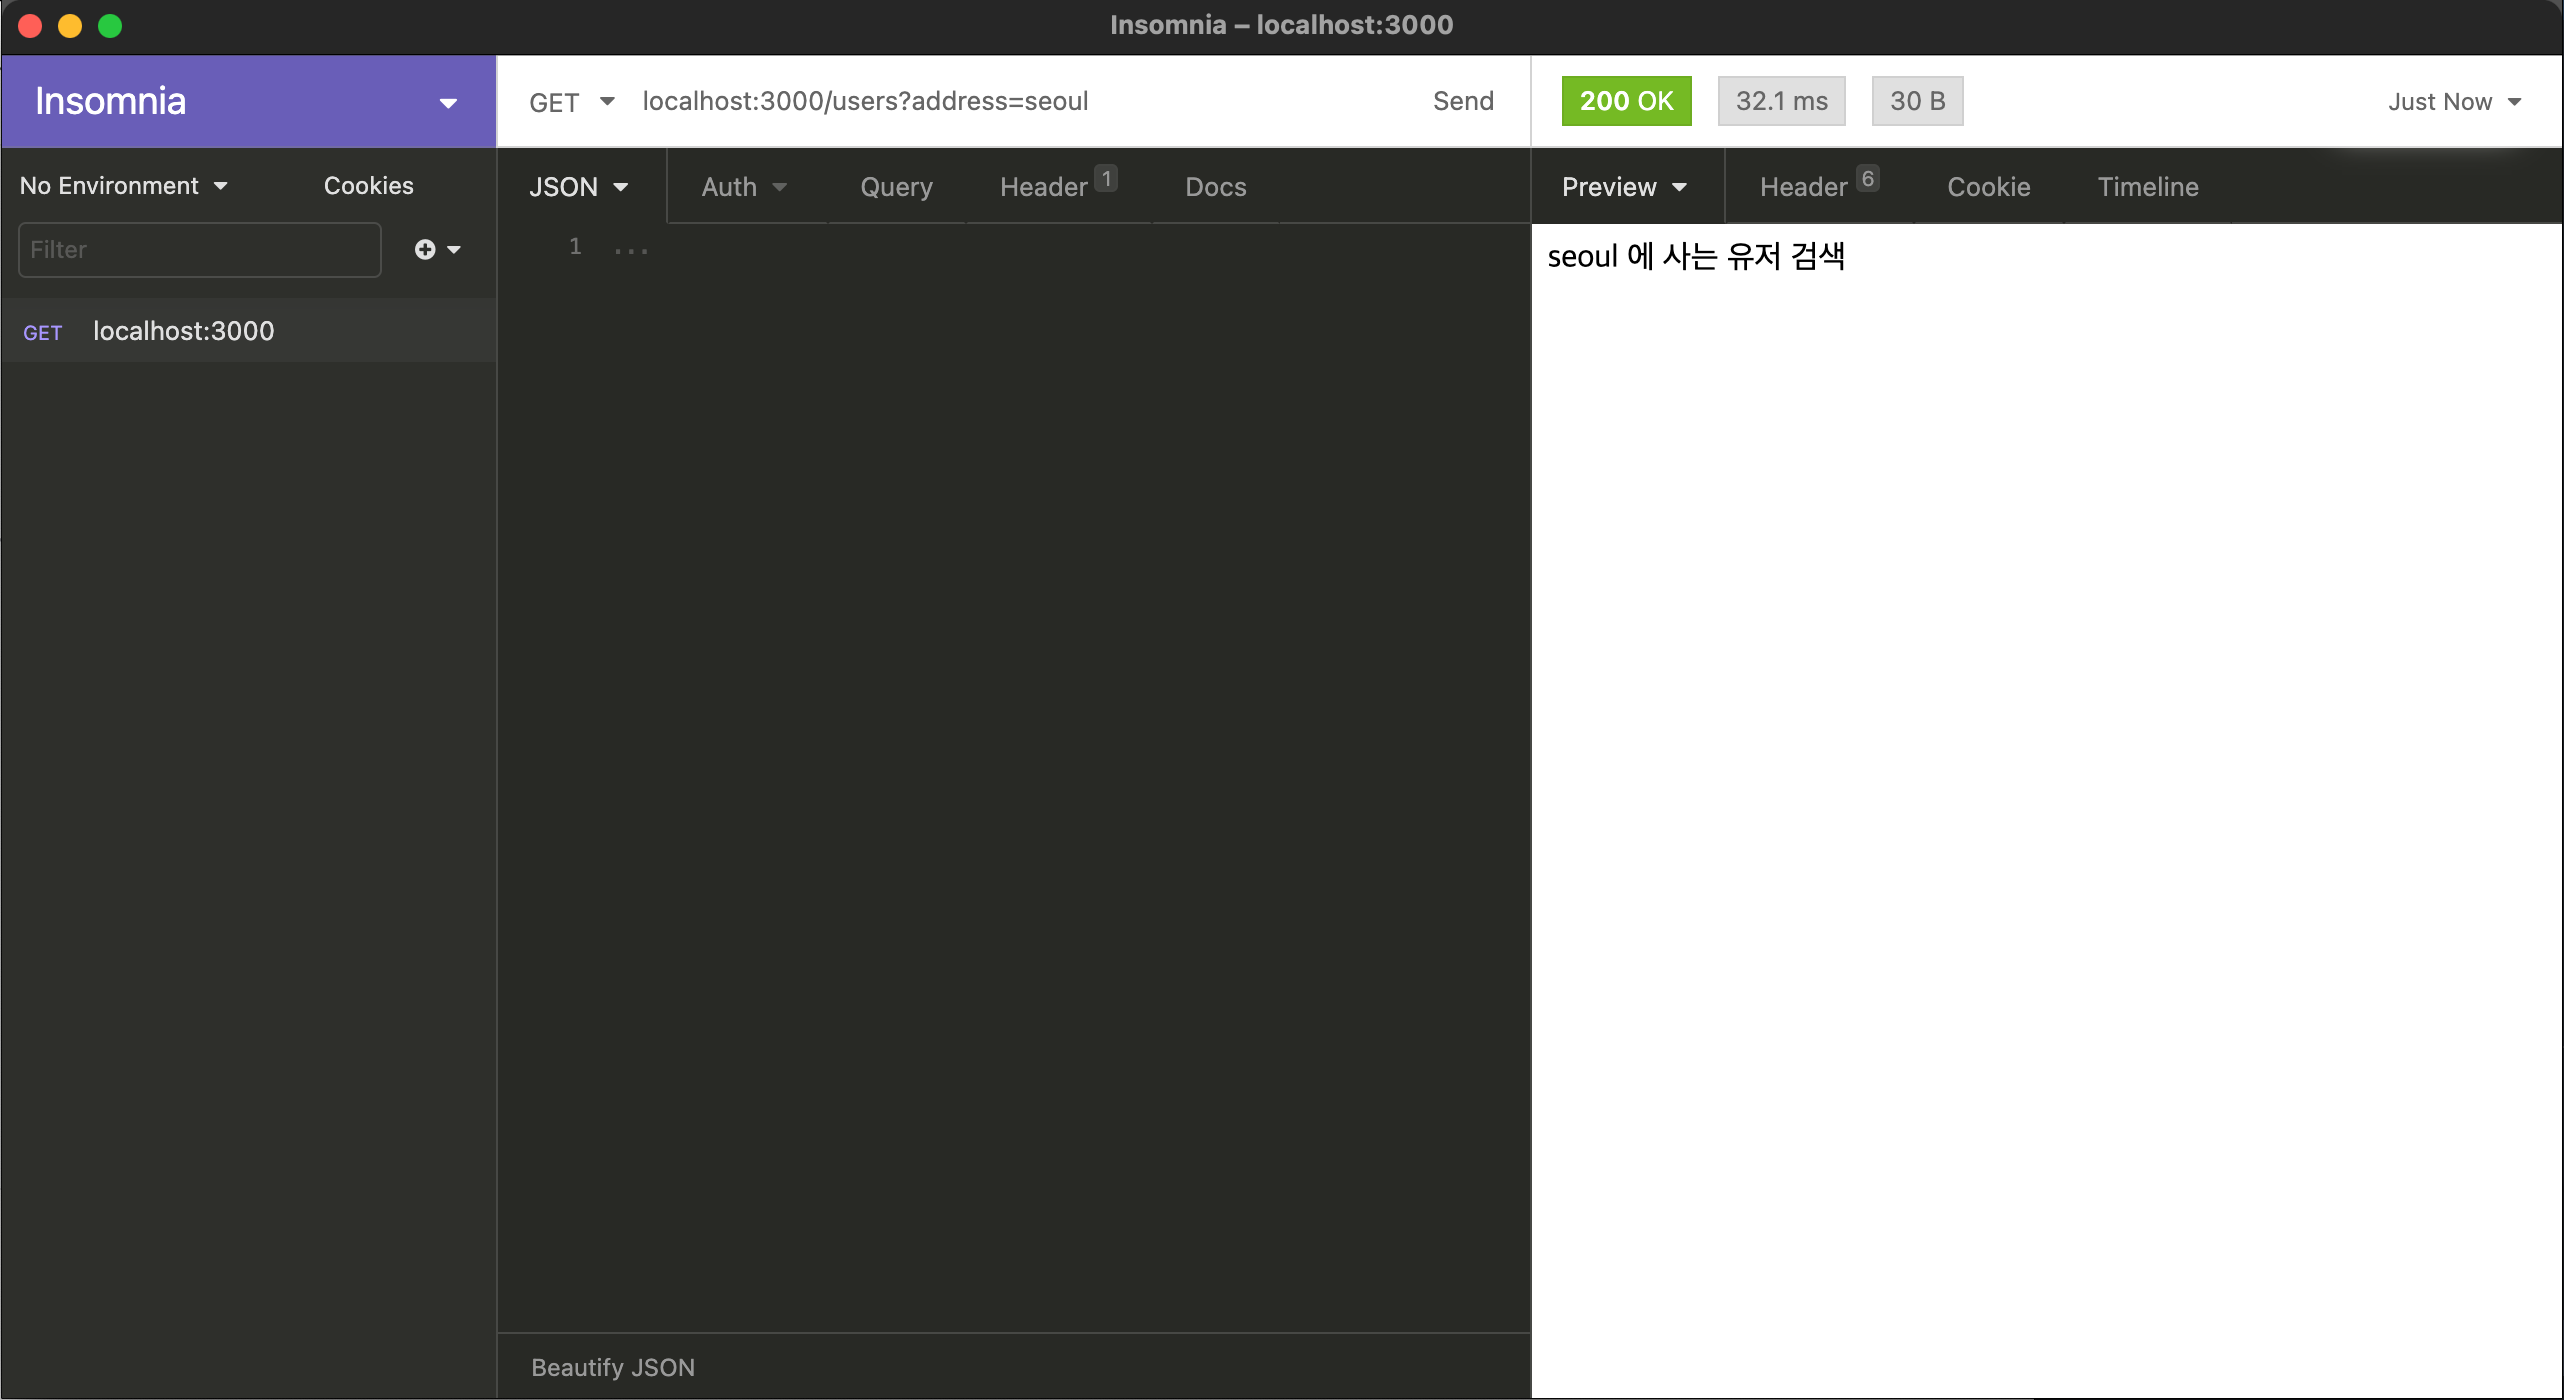
@Get() // Query string 예시
searchUser(@Query('address') address: string) {
return `${address} 에 사는 유저 검색`;
}
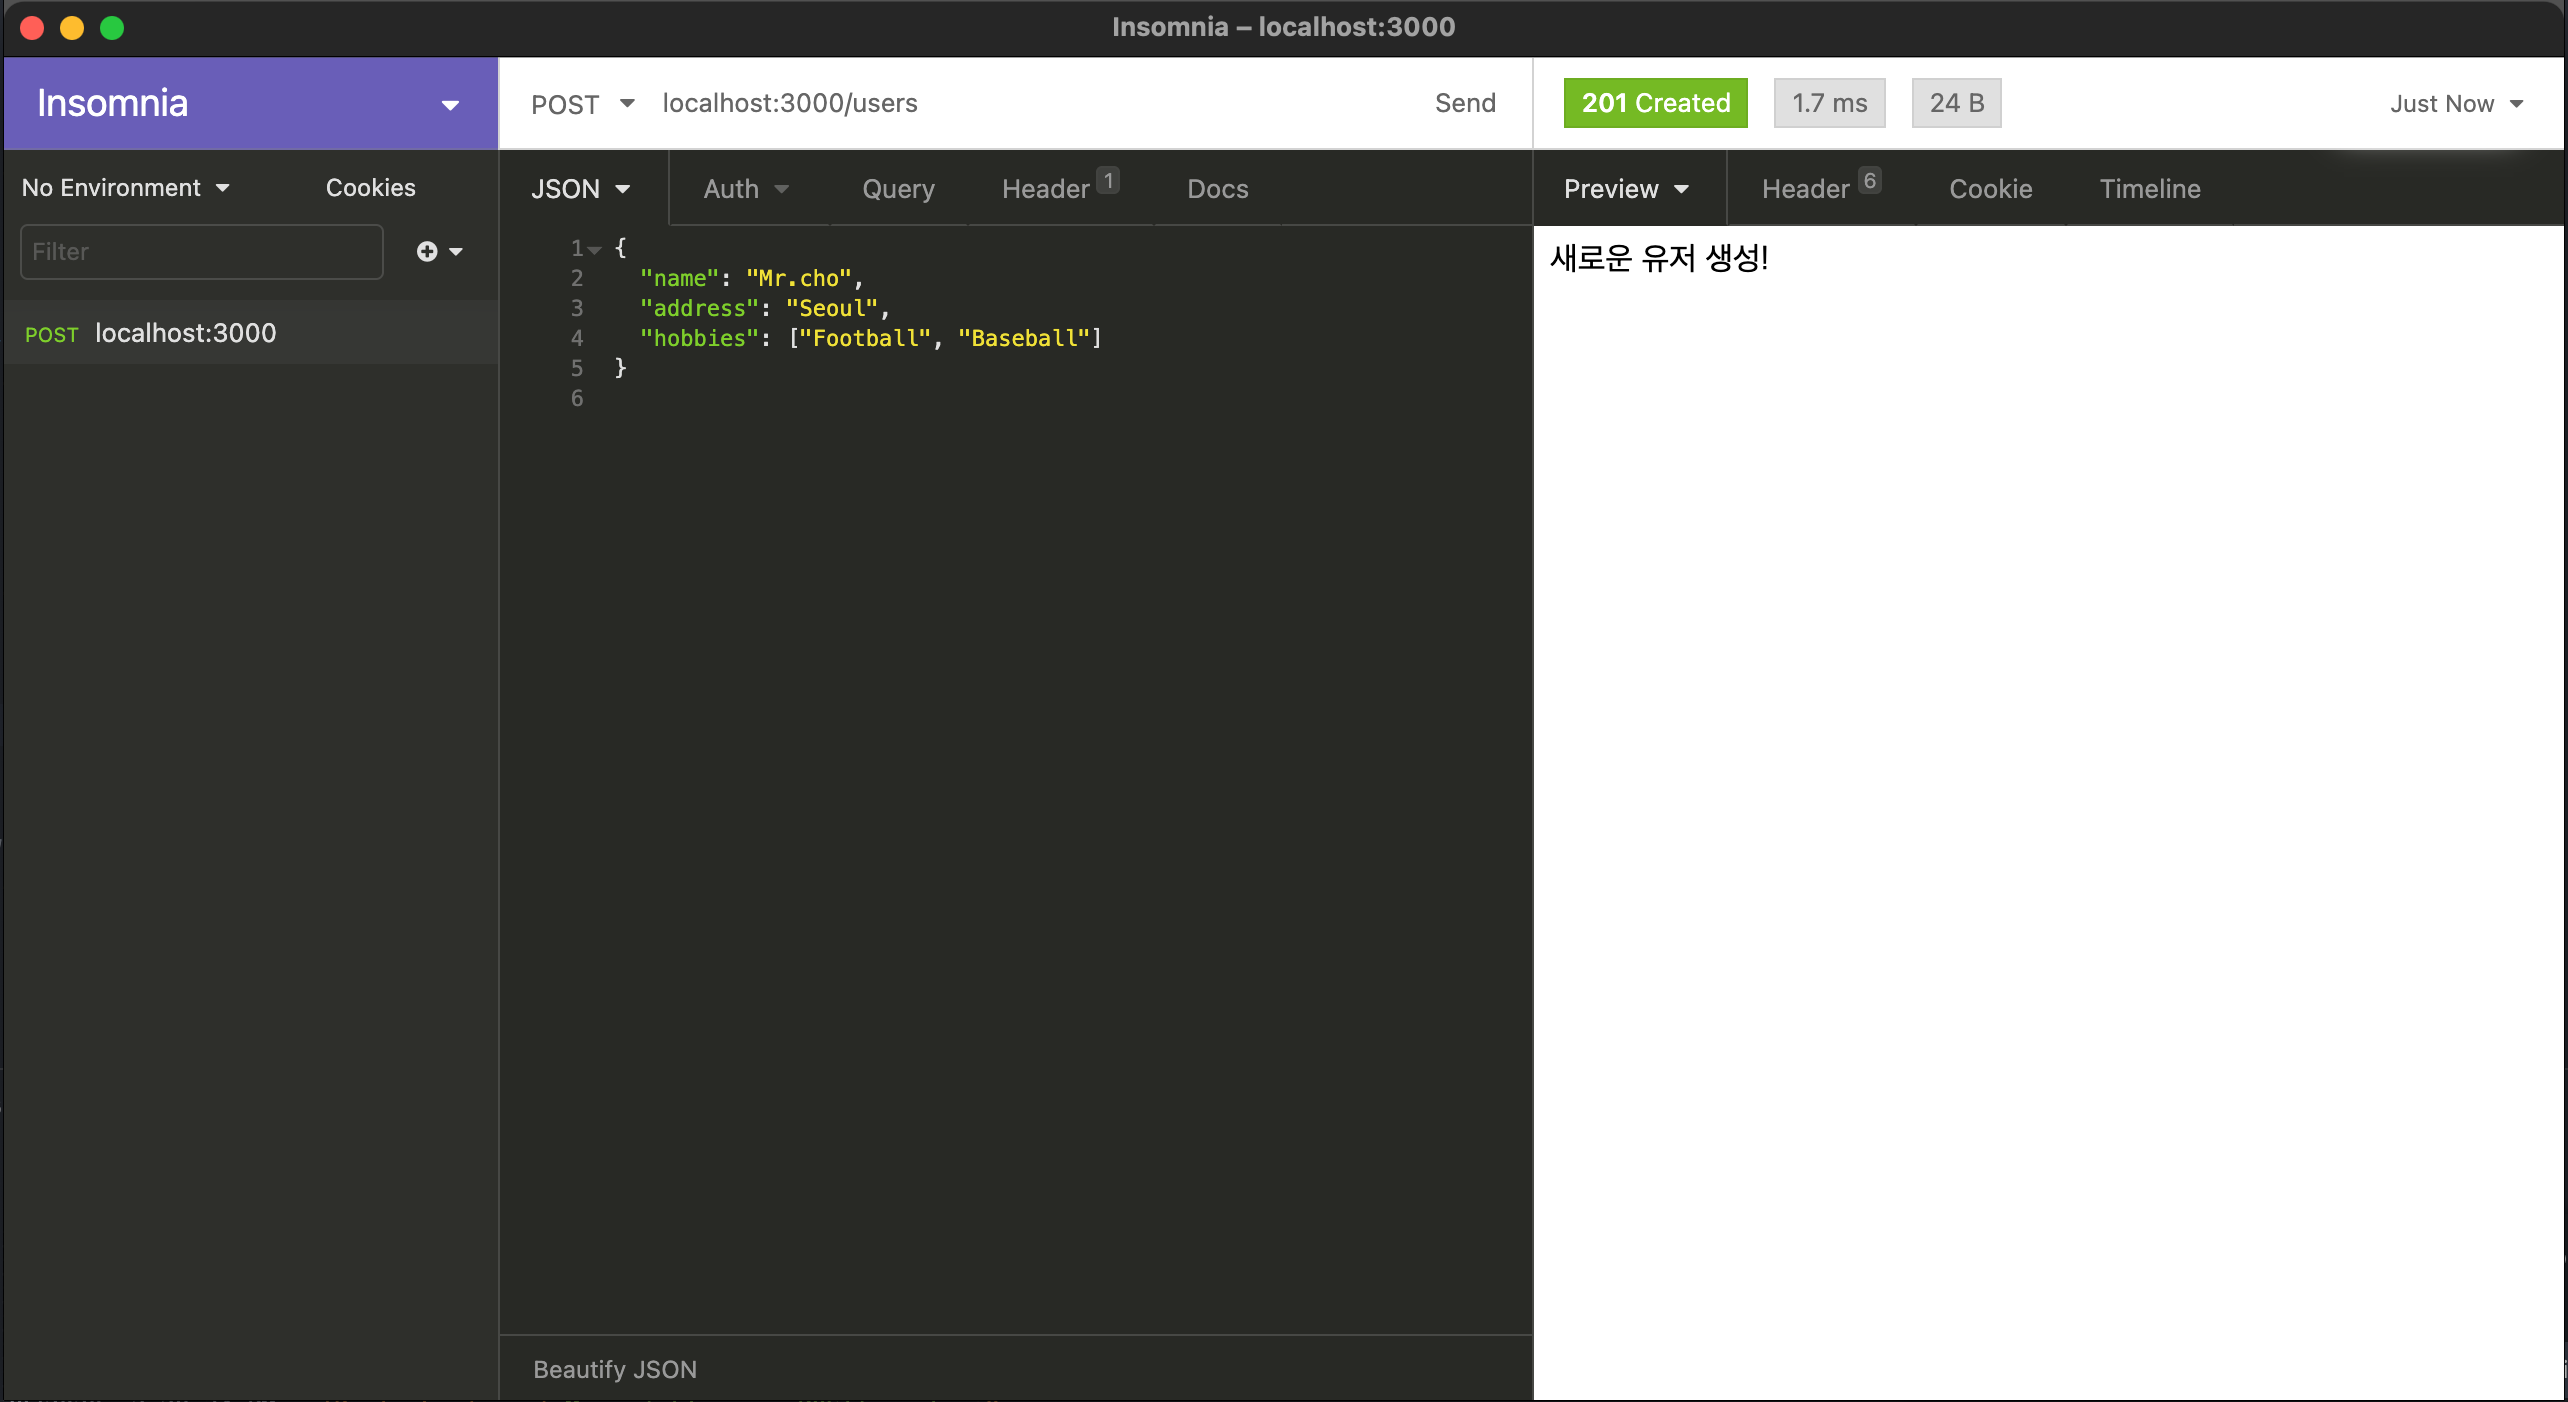
@Post() // Body data 예시
createUser(@Body() userInfo) {
// JSON 형태로 return 해줌. 편하다!
return userInfo
}
}
위와 같이 코드를 작성 한 후 REST Client Tool 을 사용해서 테스트를 진행하면 다음과 같은 결과들을 확인 할 수 있다.

이제 Service 를 사용해 비즈니스 로직을 작성해 보자. 아래의 명령어로 Service 파일을 만들어 준다. name 은 users 로 생성한다.
$ nest g s
users.service.ts 파일이 만들어 진 후에는 src/users 경로에 entity 폴더를 하나 만든다. 그 후 entity 폴더 안에 users.interface.ts 파일을 생성 후 아래와 같이 작성.
// user.interface.ts

export interface User {
  id: number;
  name: string;
  address: string;
  hobbies: string[];
}
User interface 를 사용해 아래와 같이 User service 를 작성해 보자. 여기서 작성된 Service 들은 Controller 에 주입(?) 될 것이다.
// users.service.ts

import { Injectable } from '@nestjs/common';
import { User } from './entity/users.interface';

@Injectable()
export class UsersService {
  private users: User[] = [];

  getAllUser(): User[] {
    return this.users;
  }

  getUserById(userId: string): User {
    return this.users.find((user) => user.id === parseInt(userId, 10));
  }

  deleteByUserId(userId: string): boolean {
    this.users = this.users.filter((user) => user.id !== parseInt(userId, 10));
    return true;
  }

  createUser(userInfo) {
    const newUser = {
      id: this.users.length + 1,
      ...userInfo,
    };
    this.users = [...this.users, newUser];
    return '새로운 유저 생성!';
  }
}
이제 위에서 작성한 Service 와 Controller 를 연결해주자.
import {
Body,
Controller,
Delete,
Get,
Param,
Post,
Query,
} from '@nestjs/common';
import { UsersService } from './users.service';
@Controller('users')
export class UsersController {
constructor(private readonly usersService: UsersService) {}
@Get()
getAllUser() {
return this.usersService.getAllUser();
}
@Get(':id')
getUserById(@Param('id') userId: string) {
return this.usersService.getUserById(userId);
}
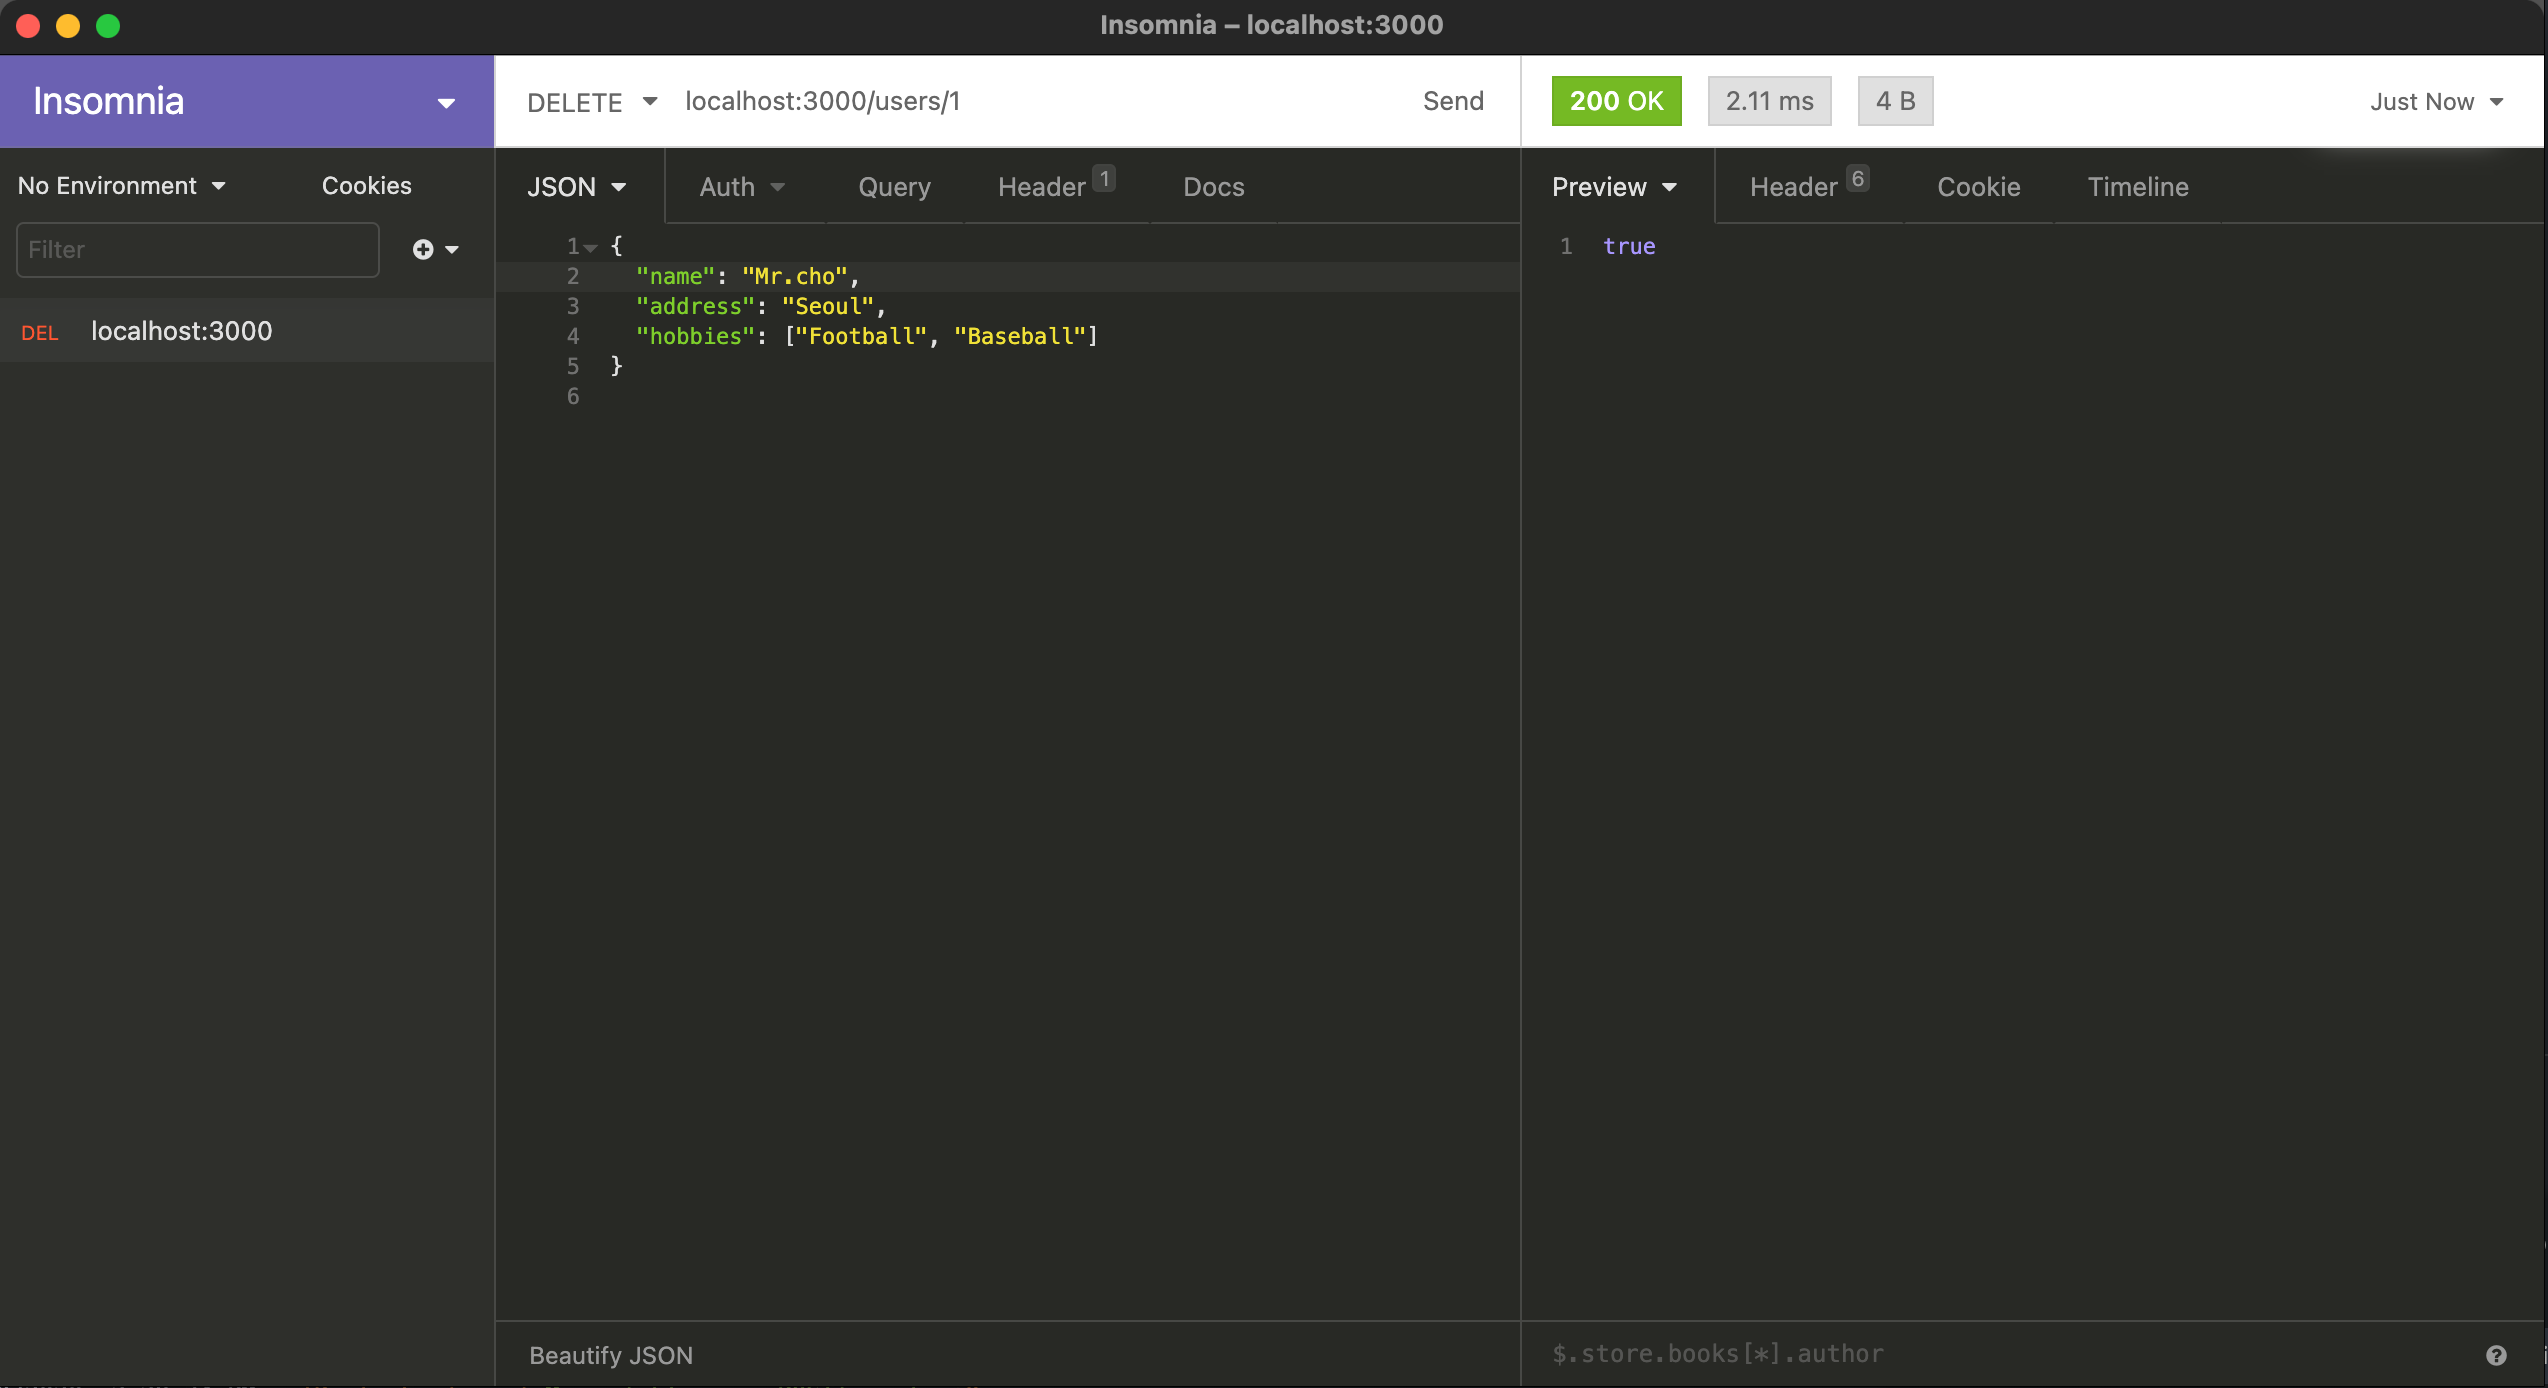
@Delete(':id')
deleteByUserId(@Param('id') userId: string) {
return this.usersService.deleteByUserId(userId);
}
@Post()
createUser(@Body() userInfo) {
console.log('userInfo :', userInfo);
// JSON 형태로 return 해줌. 편하다!
return this.usersService.createUser(userInfo);
}
}
The UserService is injected through the class constructor. Notice the use of the private syntax. This shorthand allows us to both declare and initialize the catsService member immediately in the same location - NestJS 공식 문서 참조 -
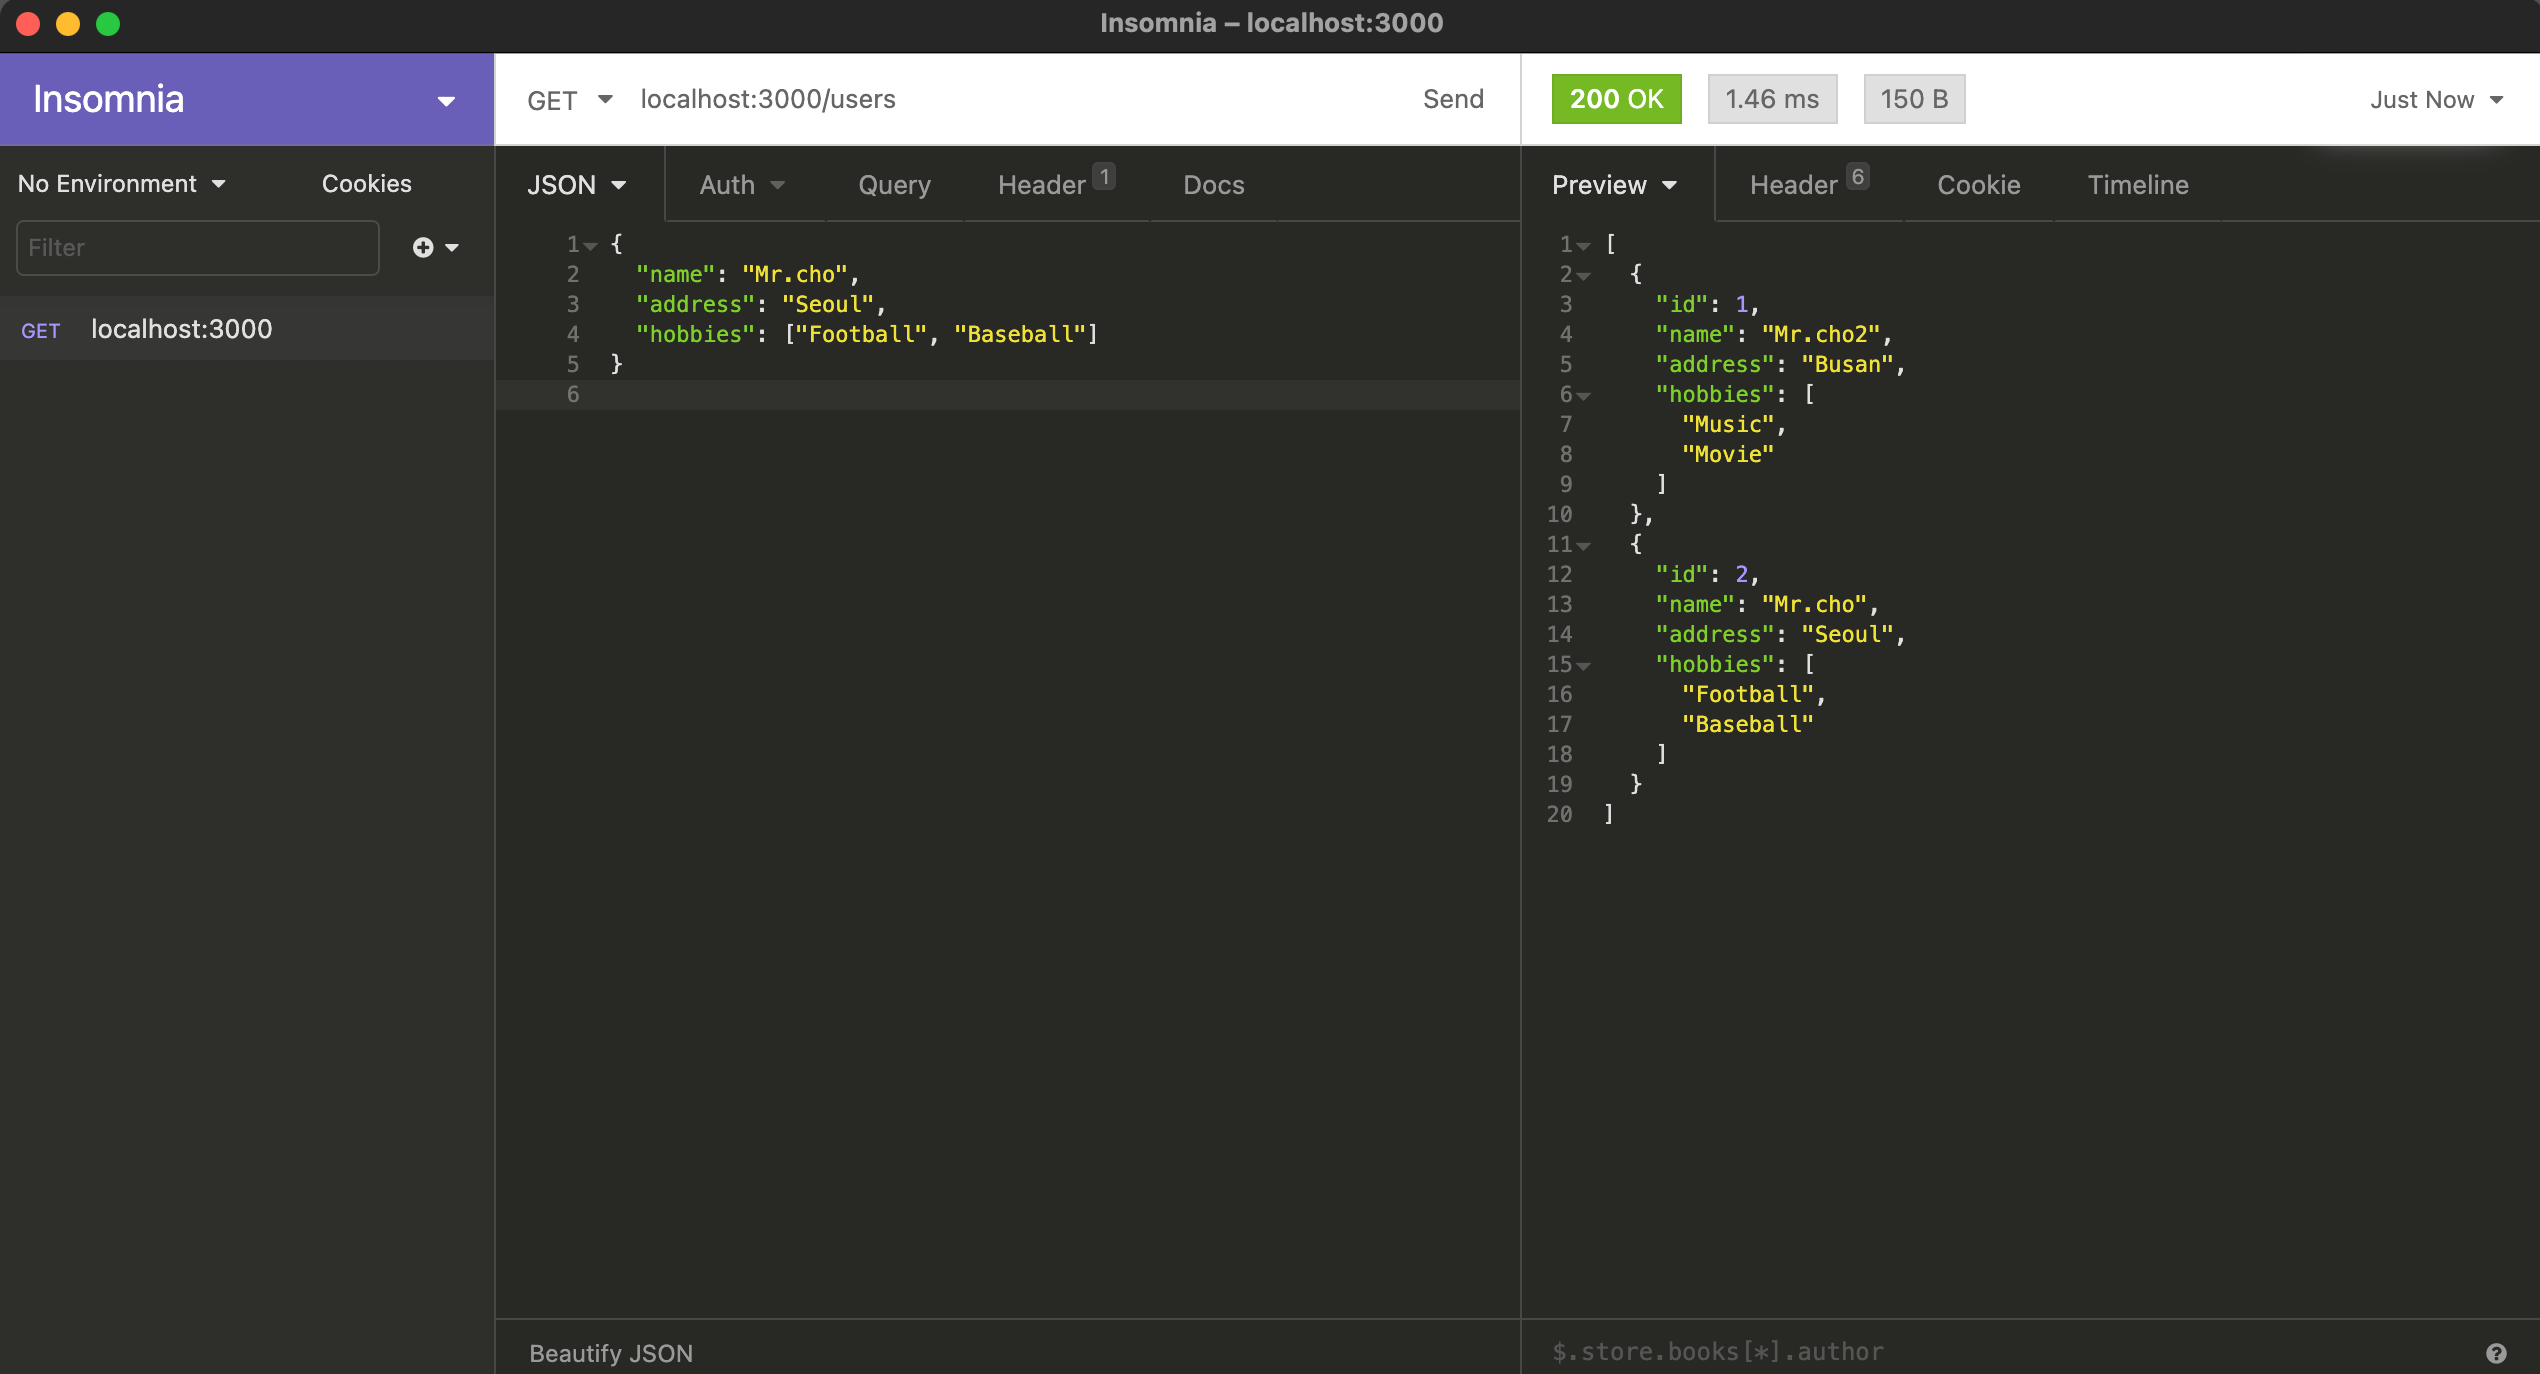
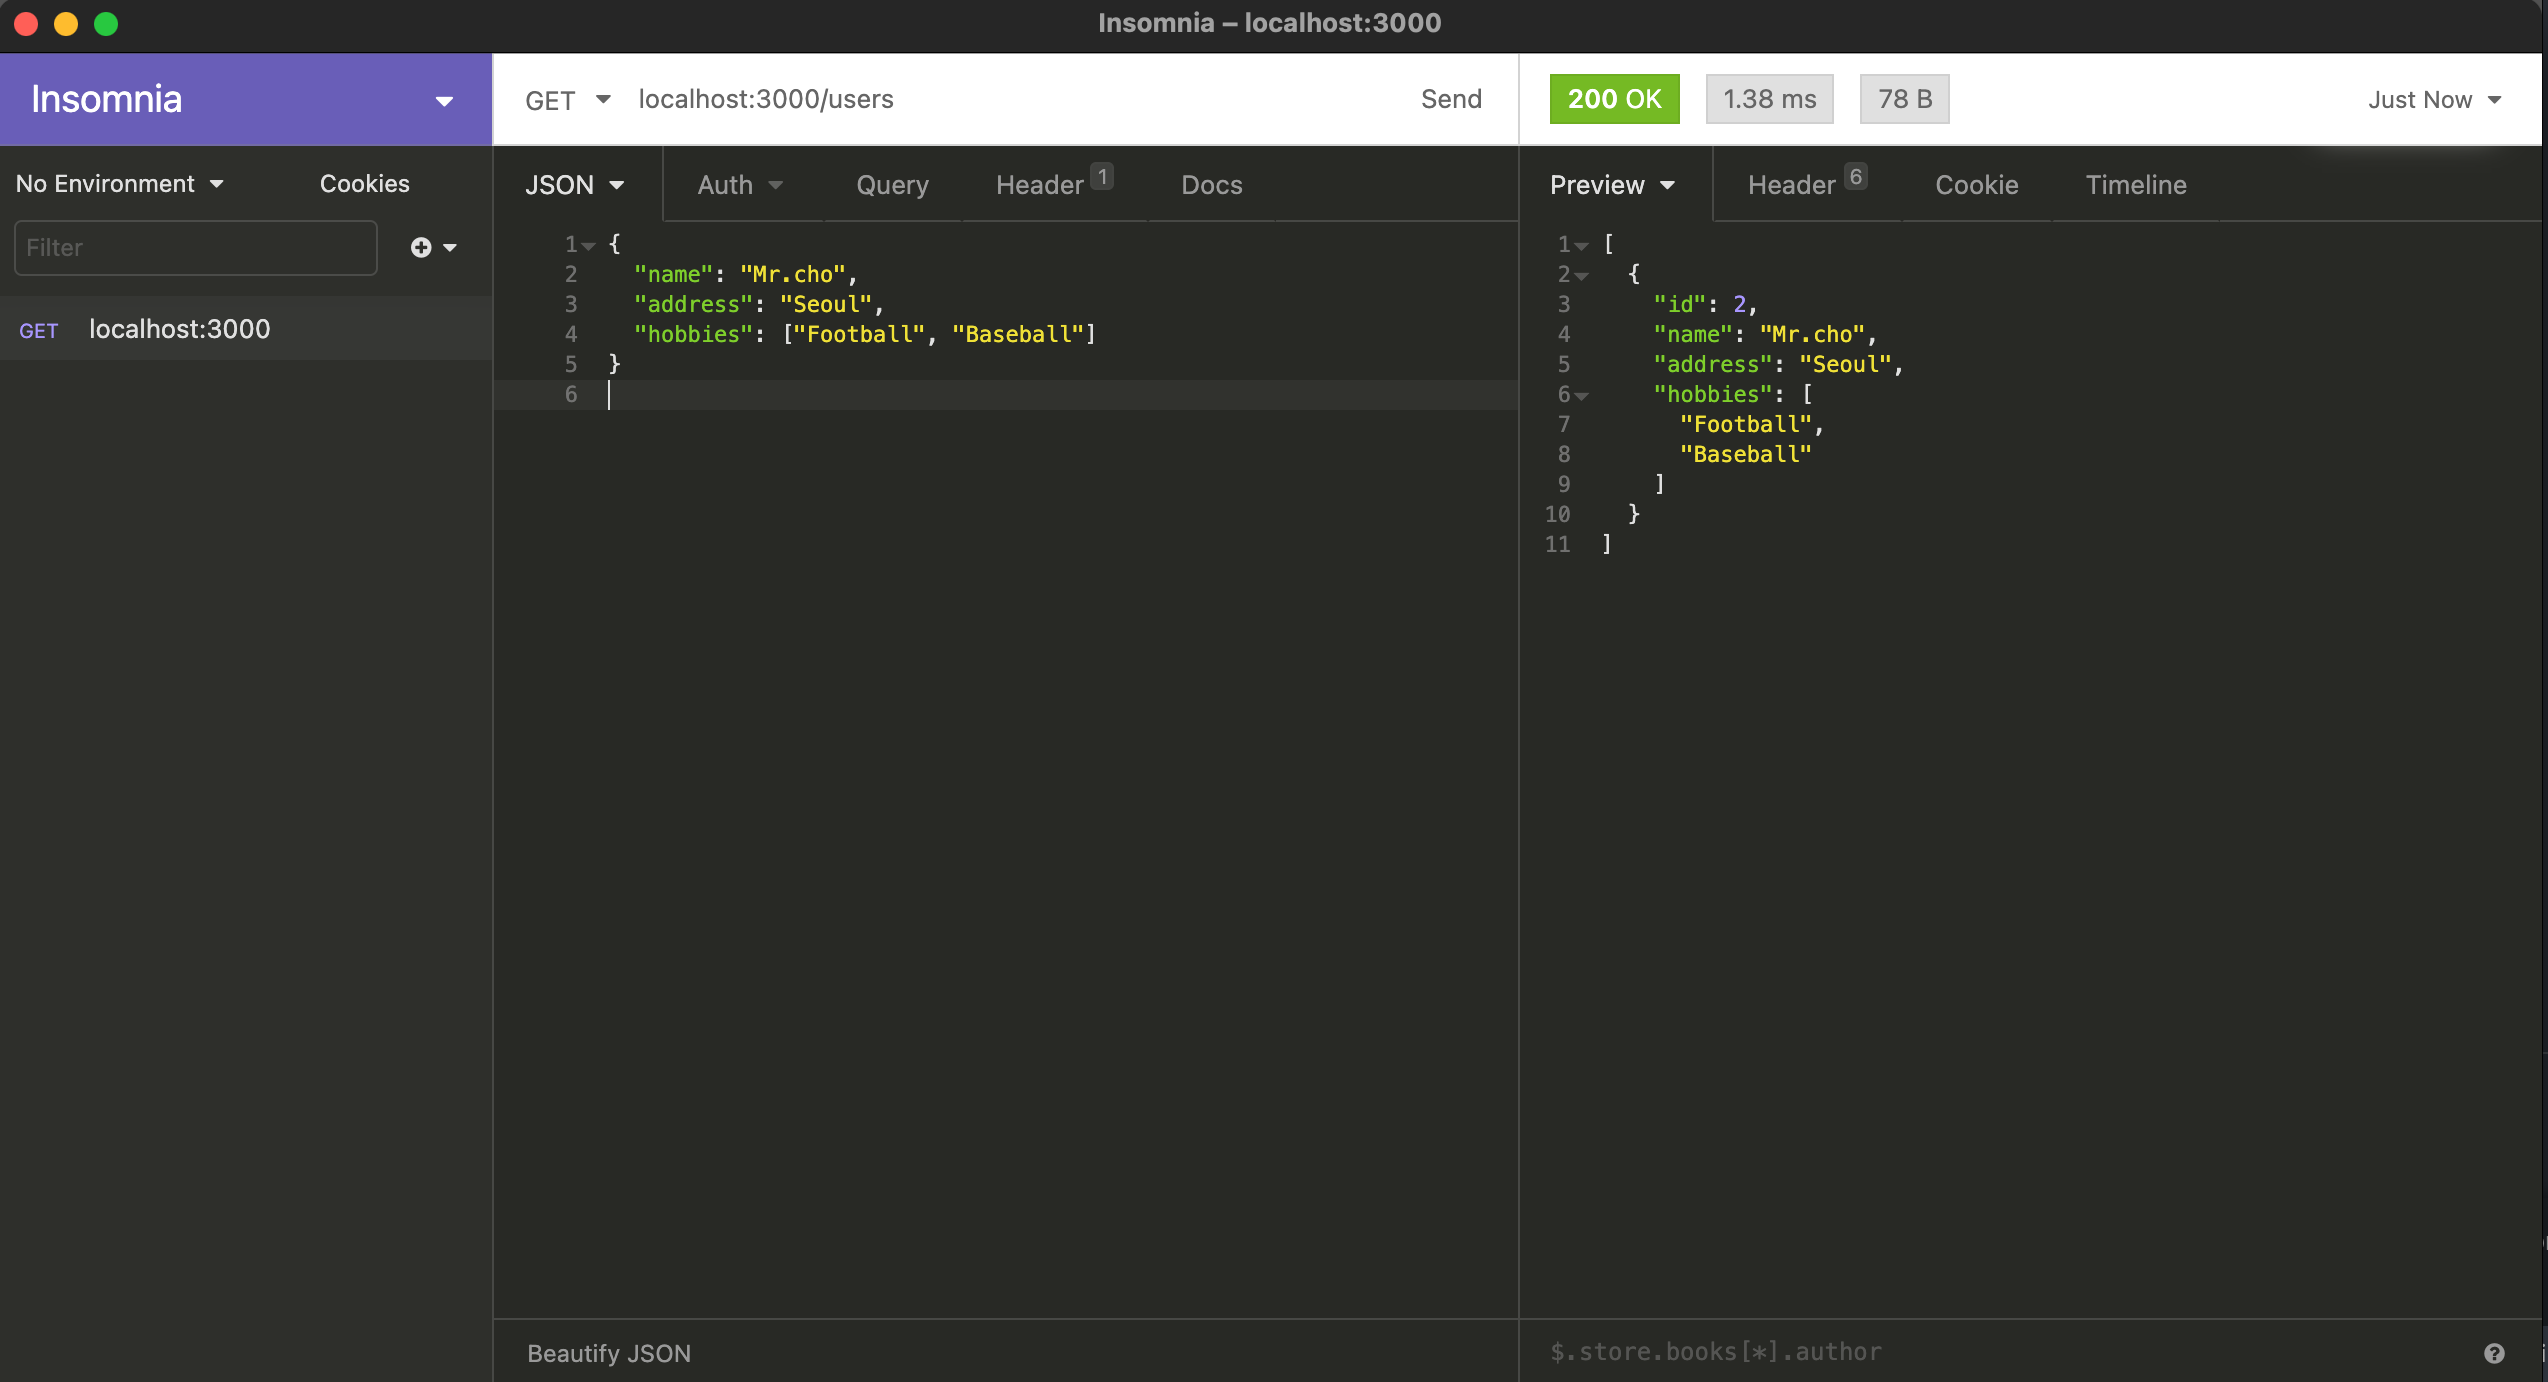
UserService 는 UserController 의 생성자에 의해 주입되어 사용 될 수 있다. Controller 에 정의 된 함수들을 UserSerivce 를 활용해 알맞게 변경해 준다. 간단하게 테스트를 해보면 아래와 같은 결과를 얻을 수 있다.
지금까지 간단하고 정말 간단하게...NestJS 의 맛만 보았다. 사실 Controller 와 Service 를 만든 것 밖에 없지만 벌써부터 NestJS 가 정말 맘에 든다. 앞으로는 Node 를 활용해 Backend 서버를 만들 일이 있으면 NestJS 를 무조건 사용할 것 같다.
참조
'Development > NestJS' 카테고리의 다른 글
| NestJS + TypeORM + Migration 설정 (0) | 2021.02.01 |
|---|---|
| NestJS 코드 변경이 적용되지 않을 때 해결법 (0) | 2021.01.06 |
| [NestJS] 간단하게 일단 맛보기 #3 (0) | 2020.12.31 |
| [NestJS] 간단하게 일단 맛보기 #1 (0) | 2020.12.29 |


최근댓글